
My Early Kit
When I started photography, my gear was simple. I used a Nikon D3500 with an 18–140mm lens. It gave me a good range to experiment with. I had no CPL or ND filters—just the camera, lens, and a desire to improve.
My goal was to learn the camera. I spent time exploring its settings, trying new compositions, and getting the most out of what I had while shooting at Sharpness Docks.
Choosing Sharpness Docks
I picked Sharpness Docks for its industrial past and visual potential. Once a major UK port, it connected the Gloucester and Sharpness Canal to the River Severn. Today, it’s a mix of abandoned buildings, working docks, and scenic waterside views.
Before visiting, I researched the area with Google Maps and Street View. This helped me plan where to shoot—places that showed the contrast between decay and activity. By scouting in advance, I arrived with a clear plan in mind.
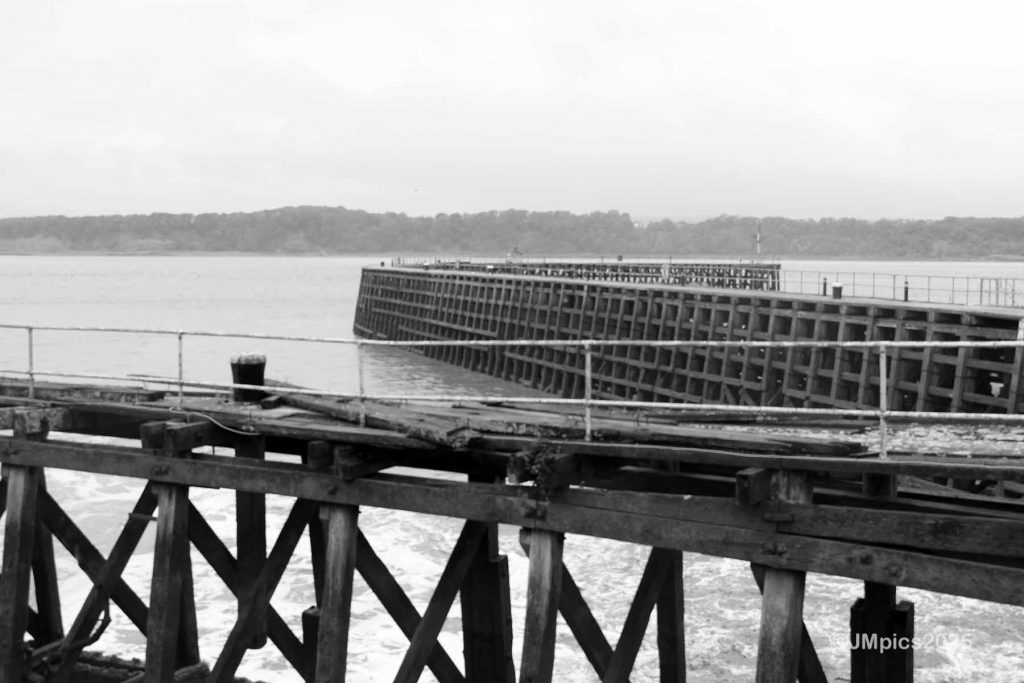
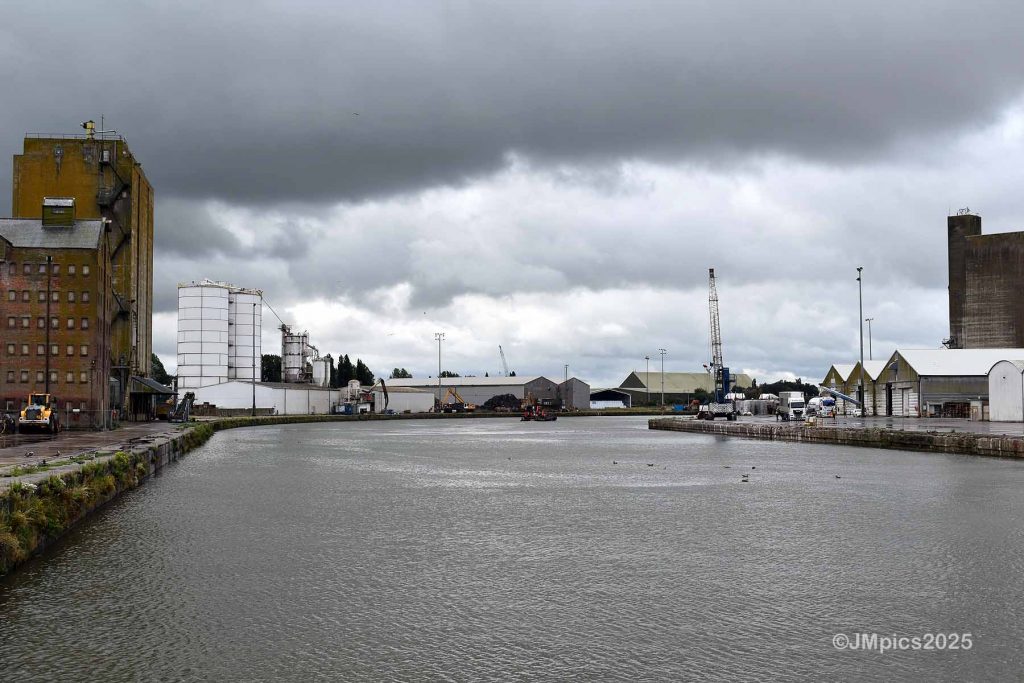
Arriving at Sharpness Viewpoint Car Park
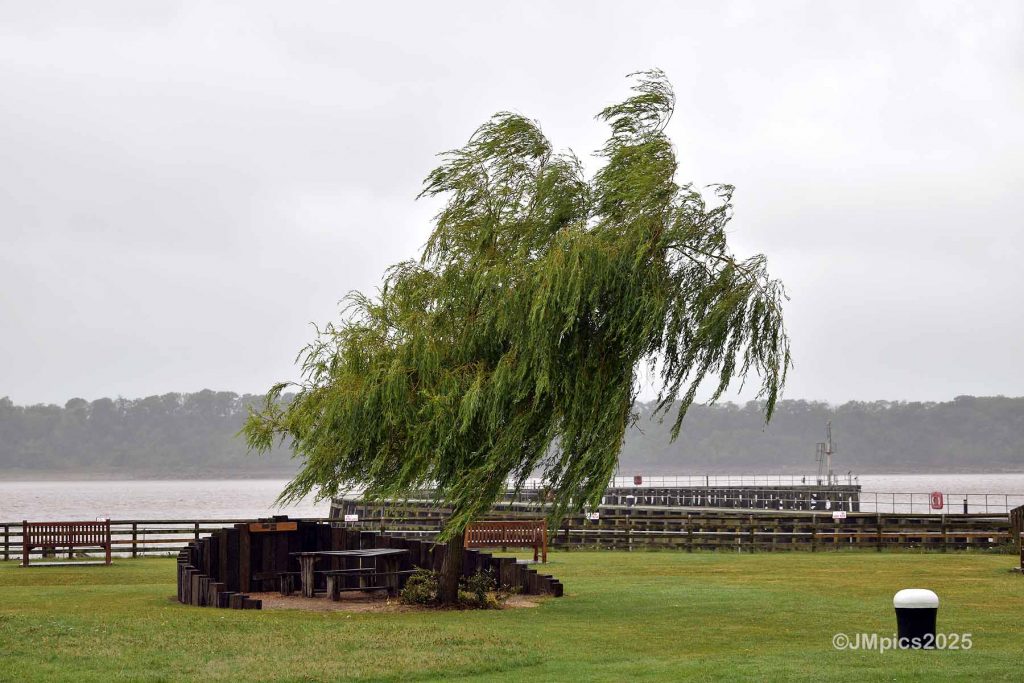
I started at Sharpness Viewpoint Car Park. It offered panoramic views across the docks and River Severn. Old industrial structures framed the distant horizon.
I took a few test shots to get a feel for the lighting and contrast. I tried different focal lengths to capture both wide scenes and close-up details. The 18–140mm lens gave me the flexibility I needed.
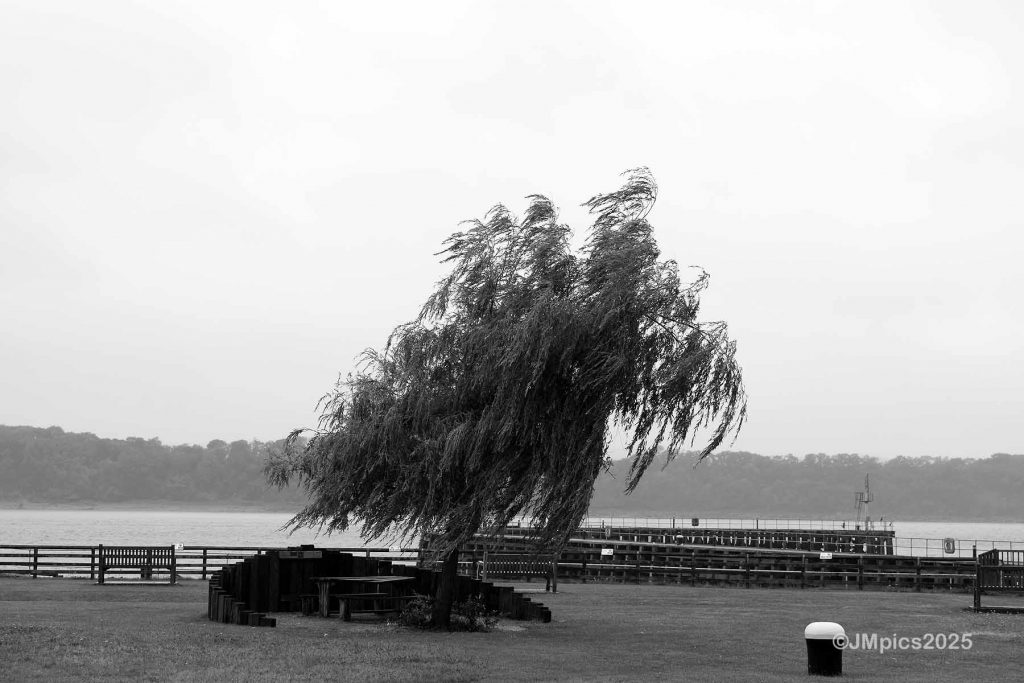
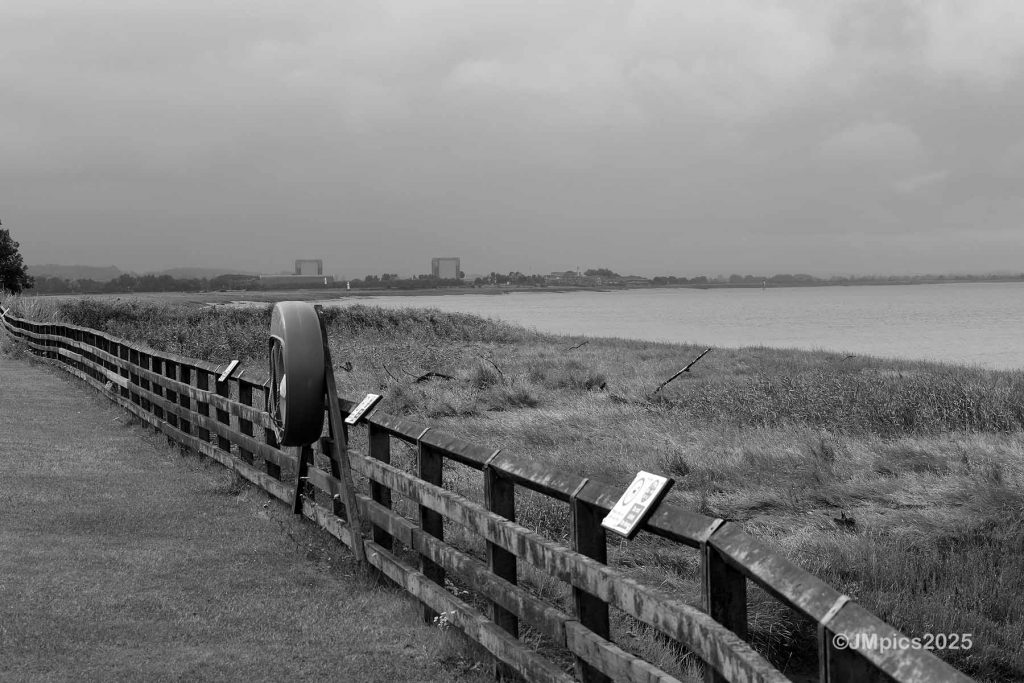
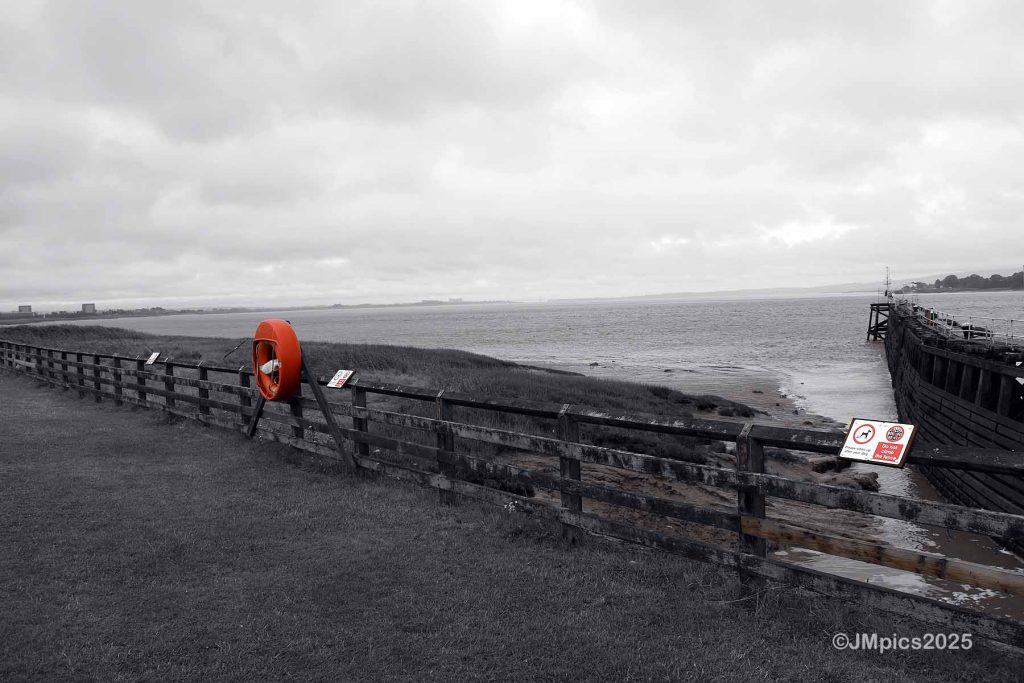
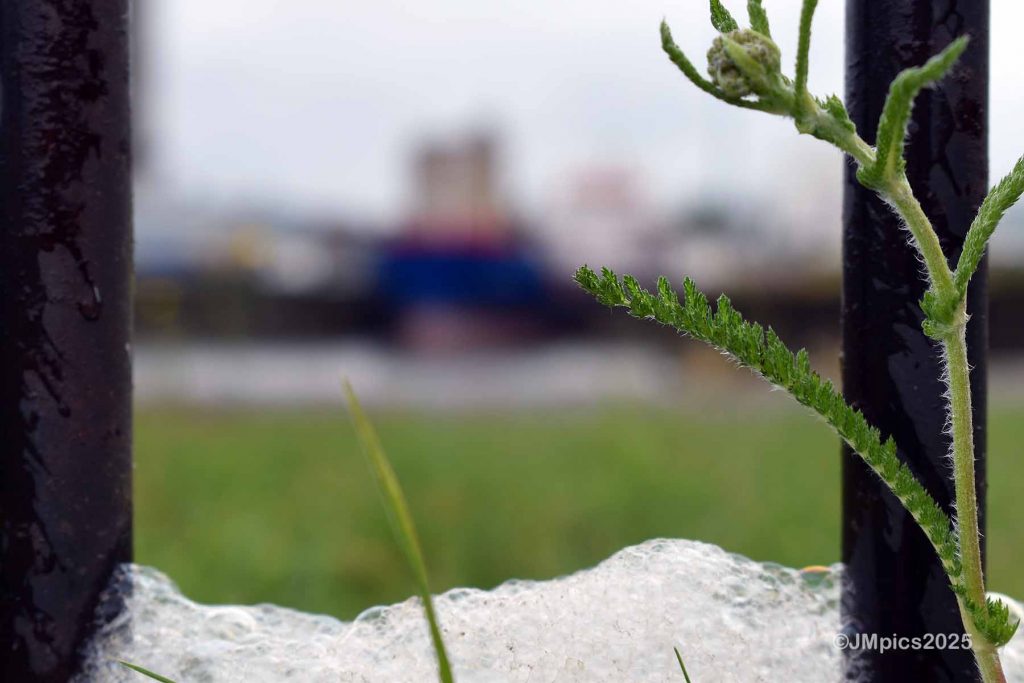
This first stop let me ease into the shoot. I adjusted camera settings and looked for strong compositions. I also tested creative modes like greyscale and selective colour. Seeing how one colour popped against black and white added a new feel to the images. It was a fun way to explore the camera’s built-in features and understand how colour shapes composition.
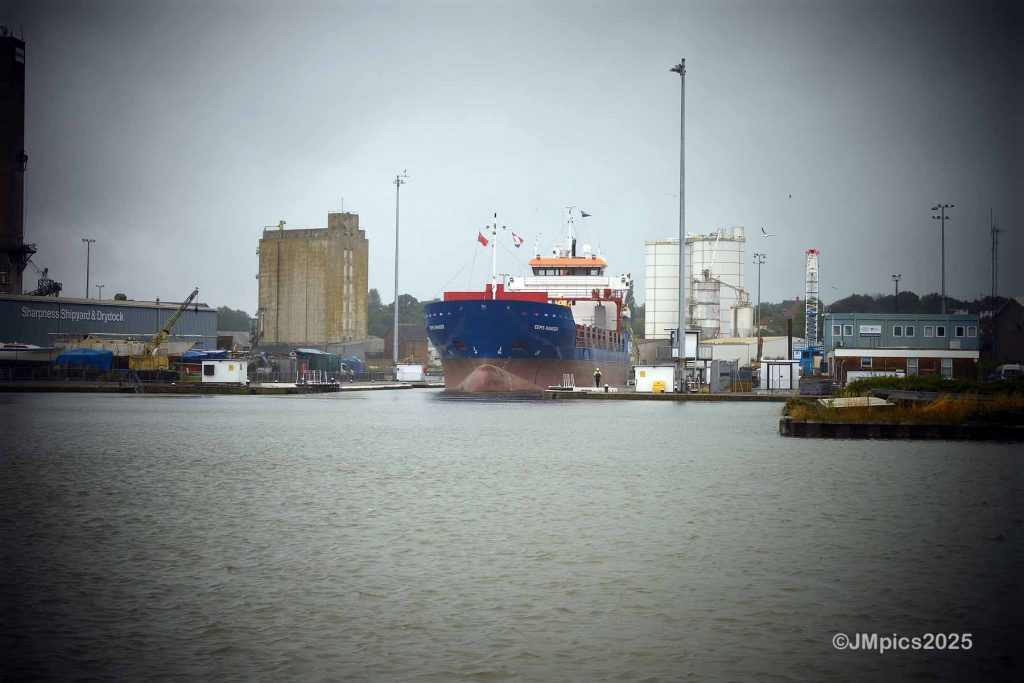
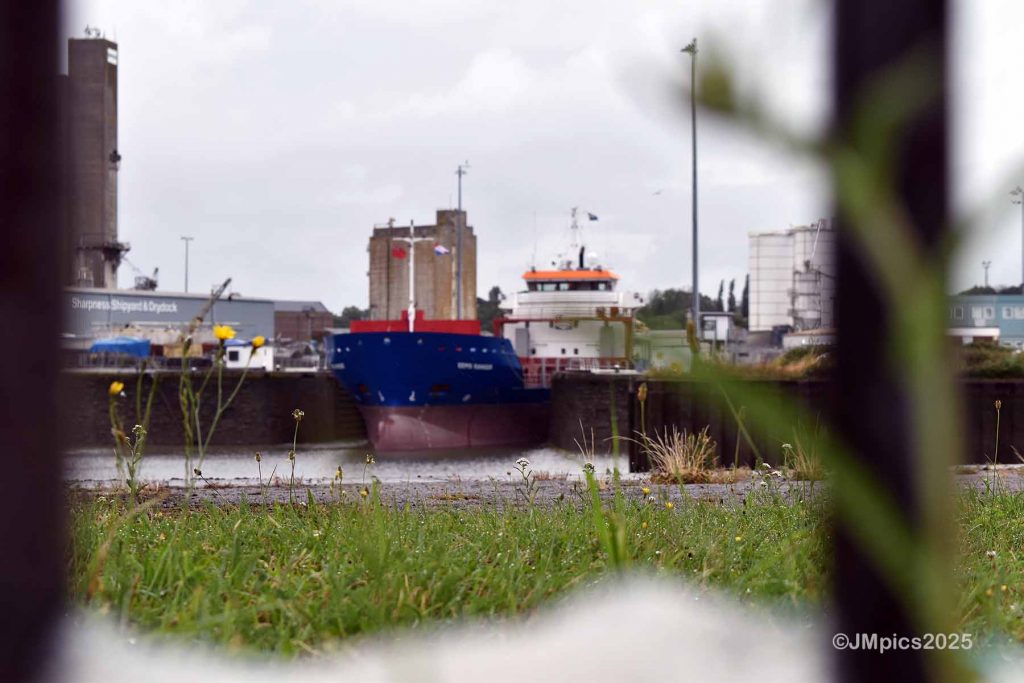
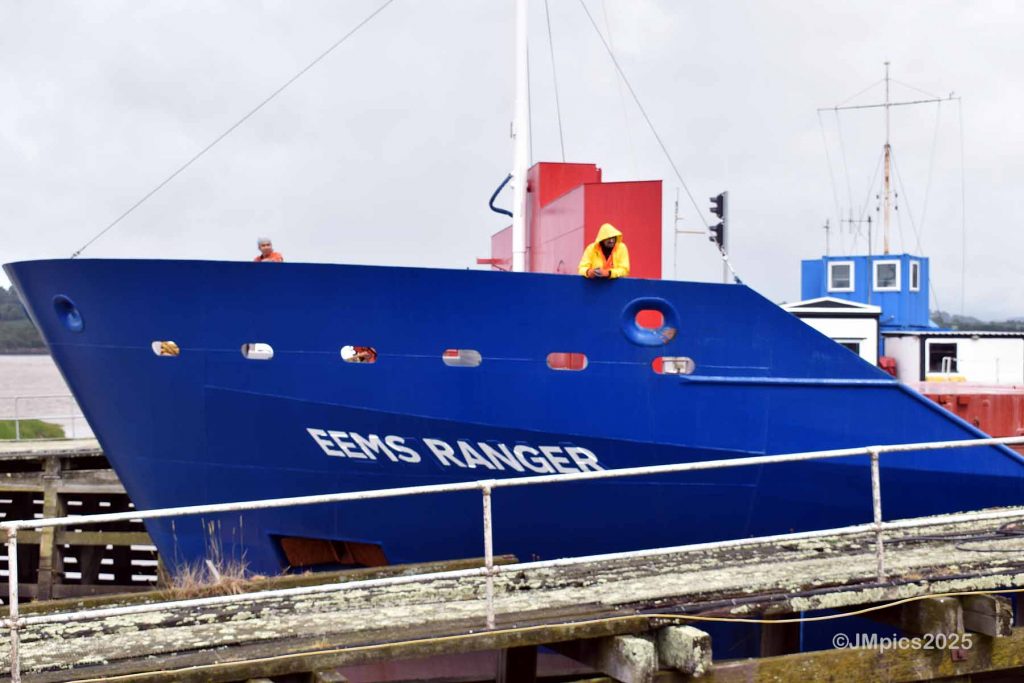
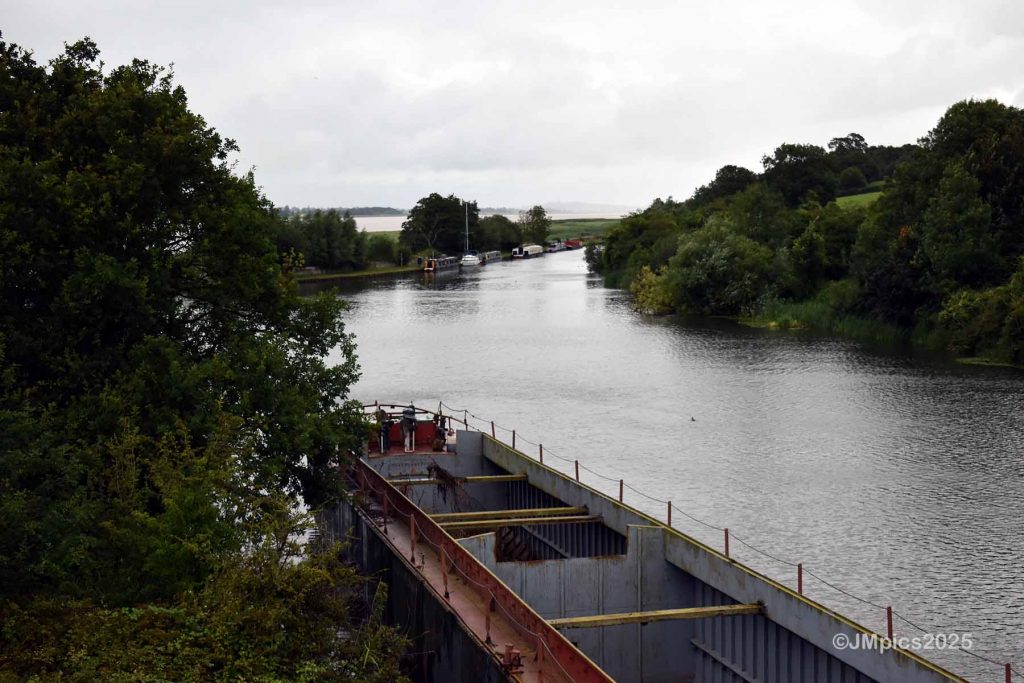
Capturing a Ship Leaving Through the Lock
While exploring, I spotted the EEMS RANGER preparing to leave the lock. It was a surprise—real-time action in an otherwise quiet space.
I framed the ship and surroundings carefully. I played with shutter speeds: fast to freeze movement, slow to add motion blur. The 18–140mm lens let me zoom in for close-ups and pull back for wider scenes.
This moment brought life to my shots. It stood out against the stillness of the dock’s abandoned corners.
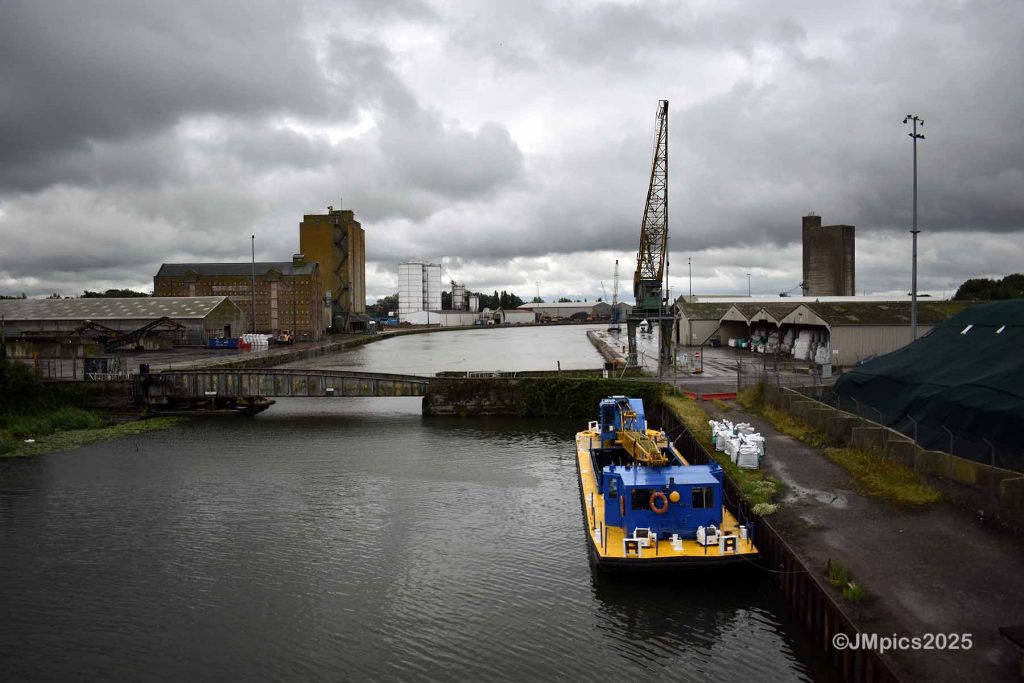
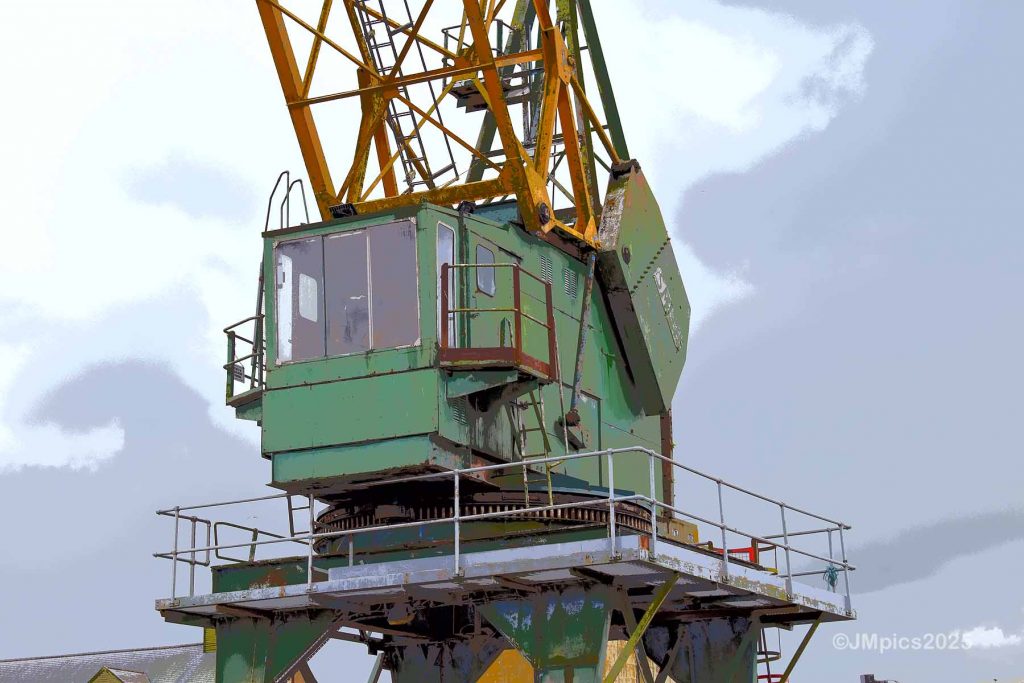
Heading Around to Dock Road on the North Side
After the lock, I walked around to Dock Road on the north side. This area revealed more of the docks’ aged character—old warehouses, moored vessels, and signs of past industry.
I found a great angle with an old dockside crane against the sky. I shot wide to capture the setting, then zoomed in to highlight rusted textures and fading paint. The road created a natural leading line, guiding the eye into the frame.
The contrast between light and shadow made this area ideal for black and white photography. It felt timeless—a story of industry slowly fading.
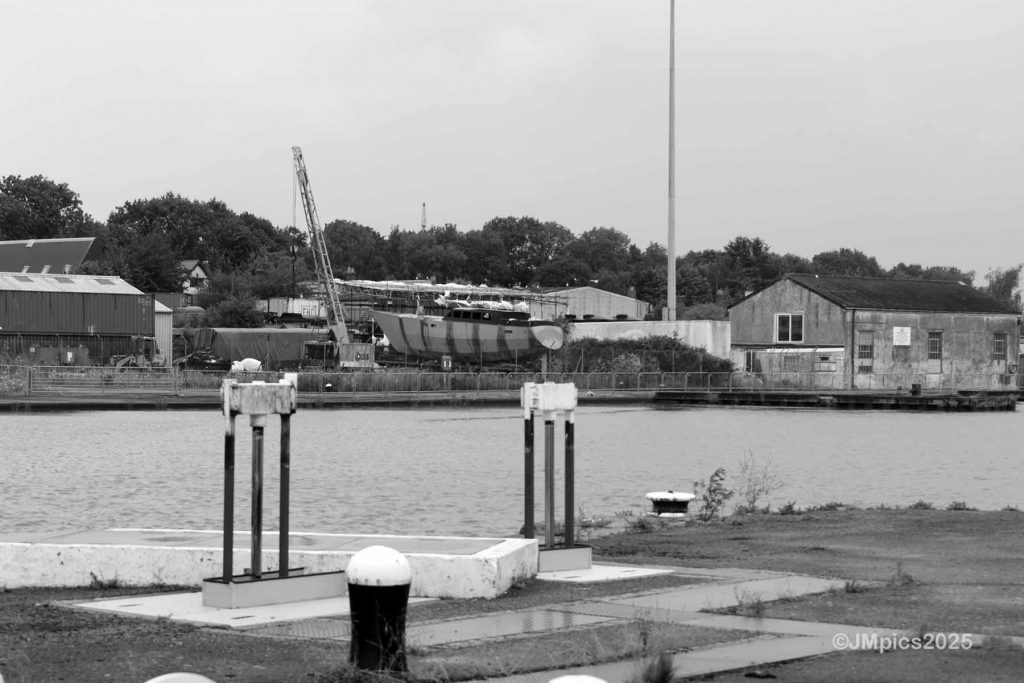
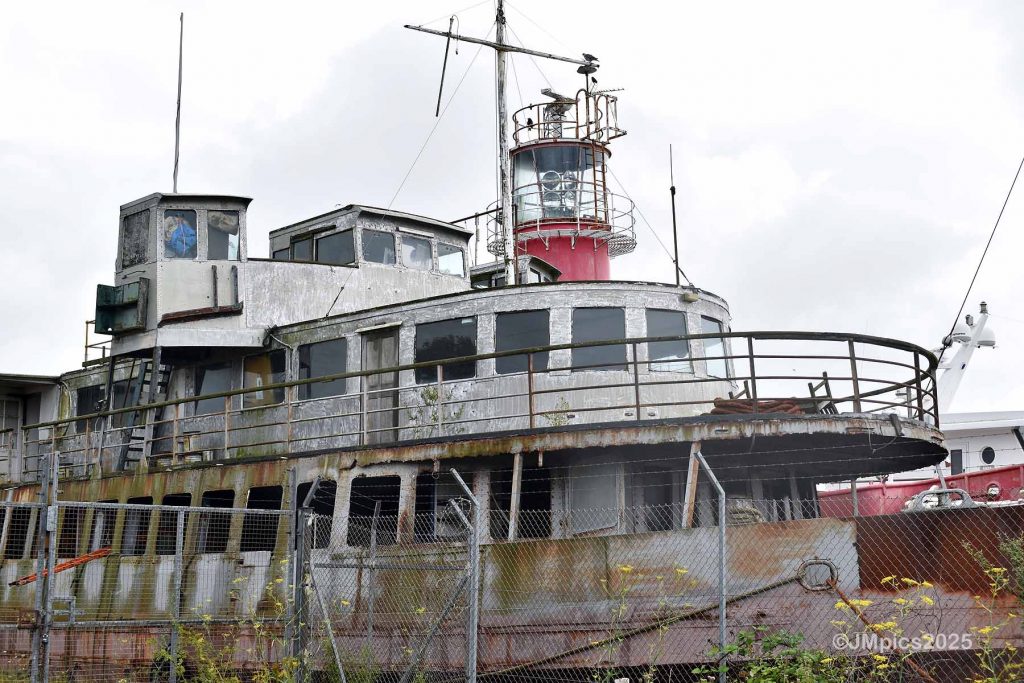
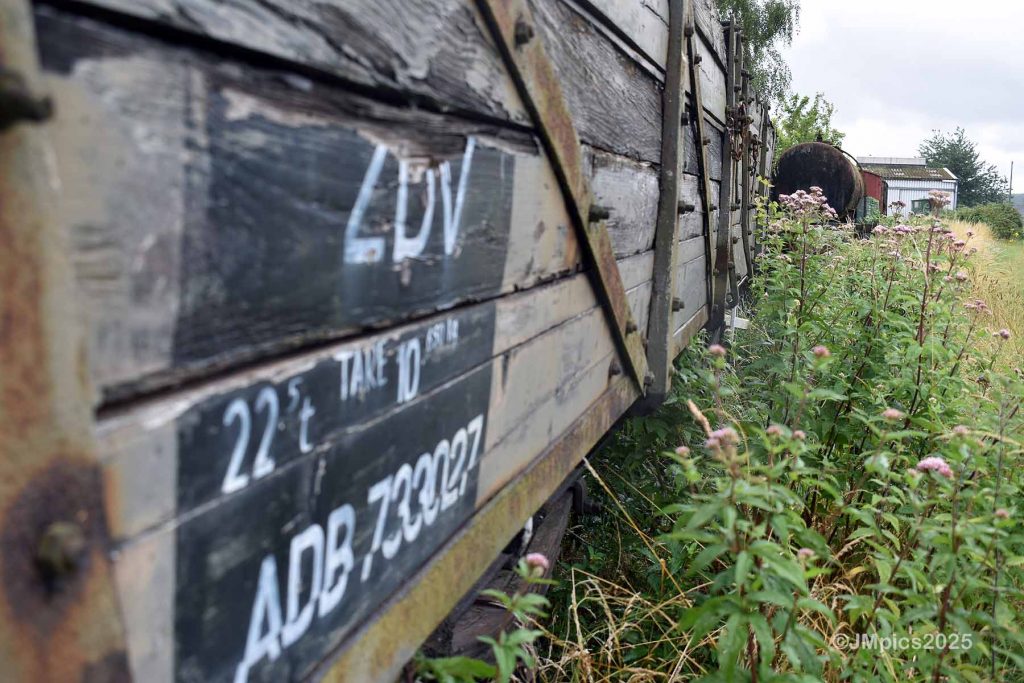
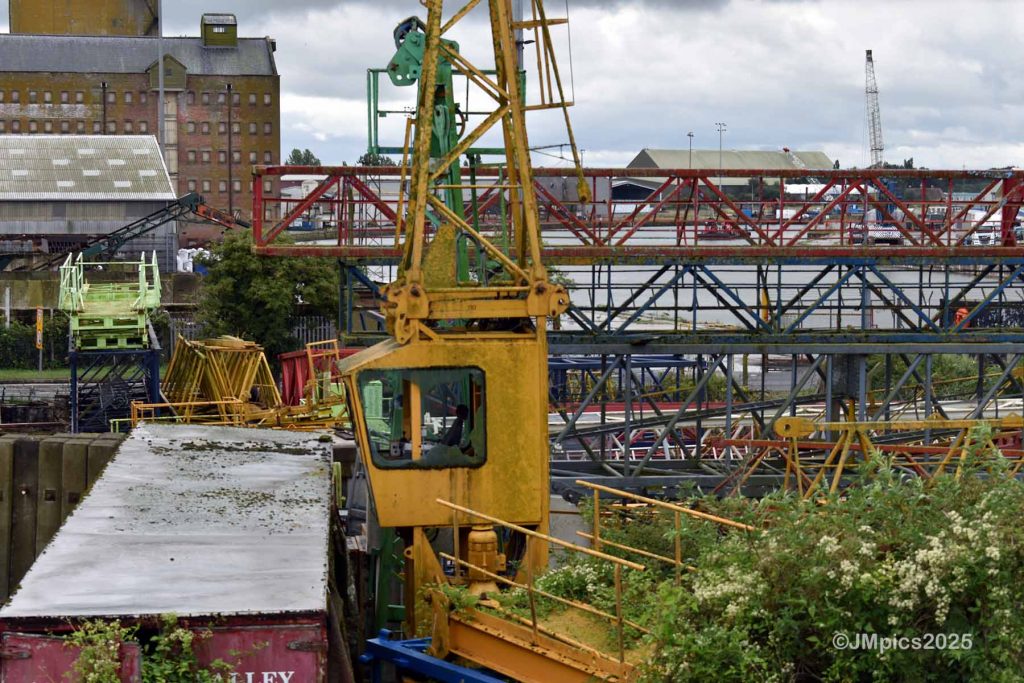
A Derelict Ship and Train Wagons
Further along, I saw a derelict ship in the distance. Its rusted metal and peeling paint made it a perfect subject—but access was too restricted for a clean shot. I made a mental note to research it later.
Nearby were old train wagons resting on a disused track. Rusted and weathered, they were ideal for texture shots. I zoomed in on graffiti and corrosion, then stepped back for wider shots. These elements added to the story of Sharpness—where industry lingers in decay.
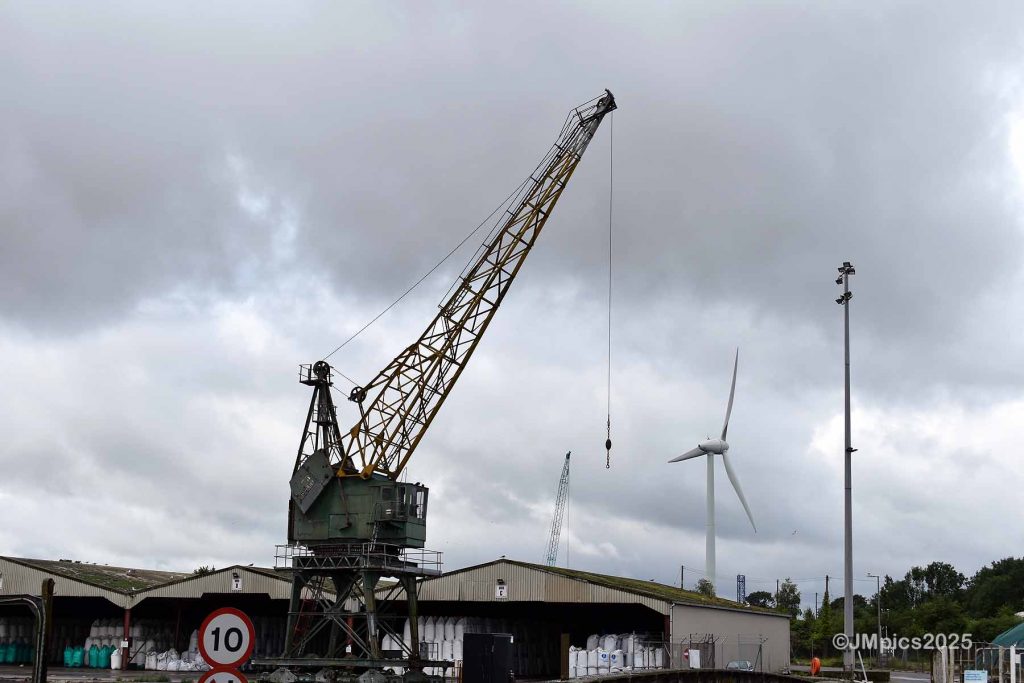
Walking the High Bridge and Back to the Car
I crossed the High Bridge next. It offered elevated views of cranes and dock buildings. The higher perspective gave new angles that ground level couldn’t.
I kept testing camera modes, seeing how they changed the feel of light and texture. Shooting from above added variety to my compositions and showed the docks from a broader view.
Eventually, I returned to Bridge Road and my car, wrapping up a productive shoot.
Final Thoughts
Looking back, I realised some of the camera modes weren’t for me. While creative, they limited post-processing flexibility. I prefer capturing a clean image I can edit later.
This trip reminded me that solid, well-exposed shots are the best foundation. It’s better to shape a photo in post than be boxed in by in-camera effects.